

The fastest safe way to move a WordPress site to a new host is to back up files and database, create the new database, upload files and update wp-config.php, run a serialization-safe search and replace on your URLs, test everything via your hosts file, then cut over DNS. Done in this order, most sites see minutes of disruption rather than hours.
The full workflow looks like this:
- Build a pre-migration inventory (access, versions, credentials)
- Back up
wp-contentand export the database - Create the new database and upload files to the new host
- Update
wp-config.phpwith new credentials - Search-and-replace URLs safely, protecting serialized data
- Test the live site via a local hosts-file edit
- Switch DNS during a low-traffic window
- Run the post-migration verification checklist
Before you touch anything, confirm you have working credentials, access to your DNS settings, and a backup you’ve actually tested. Skip any of those three and you’re migrating blind.
Key Takeaways
Moving a WordPress site to a new host safely requires a tested backup, serialization-safe URL replacement, hosts-file staging, and a full post-migration verification pass before DNS cutover.
| Point | Details |
|---|---|
| Backup before anything else | Export files and database, then verify the backup actually restores before you proceed. |
| Match server environments | Confirm PHP version, MySQL version, and required extensions on the new host first. |
| Protect serialized data | Use WP-CLI search-replace or a dedicated tool, never a blunt find-and-replace. |
| Stage before DNS cutover | Test the live domain against the new server via your hosts file before switching records. |
| Consider a managed partner | Wpcto runs migrations end to end for agencies, including verification and post-move support. |
Table of Contents
- How to prepare a WordPress migration checklist before you start
- Backing up WordPress files and exporting the database
- Setting up the new database and updating wp-config.php
- Why URL search-and-replace needs special handling
- How do you test a WordPress site before switching DNS?
- What to check after migrating a WordPress site
- Should you use a migration plugin or do it manually?
- Let WPCTO handle your next WordPress migration
- Sources
How to prepare a WordPress migration checklist before you start
Most failed migrations don’t fail during the transfer. They fail because nobody checked compatibility first. Before you back up a single file, gather:
- FTP/SFTP or SSH login details for both the old and new host
- Control panel access (cPanel, Plesk, or your host’s custom dashboard)
- Domain registrar login, so you can update DNS when the time comes
- Current DNS TTL values, admin account credentials, API keys, SMTP settings, and payment gateway details for anything transactional
Then check the environment will actually run your site. A site built on PHP 8.1 dropped onto a host still running 7.4 will throw fatal errors within seconds of going live.
| Server variable | Why it matters |
|---|---|
| PHP version | Mismatches break themes and plugins with modern syntax |
| MySQL/MariaDB version | Older versions can reject newer query syntax |
| PHP extensions (mbstring, gd, mysqli) | Missing extensions cause silent image or text failures |
| Web server (Apache/Nginx) | Determines whether you need .htaccess or an Nginx rewrite block |
| PHP memory limit | Low limits cause white screens during import or plugin activation |
Decide early whether you’re going manual, plugin-based, or hybrid, and lower your DNS TTL to a low value at least a day before your planned cutover window. That single step turns a slow, unpredictable DNS propagation into a fast, controllable one.
Backing up WordPress files and exporting the database
Treat the backup as your insurance policy, not a formality. If anything goes wrong mid-migration, this is what gets you back to a working site within minutes rather than hours.
- Back up your files. Compress
wp-content(themes, plugins, uploads) using your host’s file manager, an SFTP client, orrsyncfor large media libraries. On Linux servers, a tarball is often the quickest route for packaging everything cleanly. - Export the database. Use phpMyAdmin’s export tool for a GUI approach,
mysqldumpfrom the command line for speed and scriptability, orwp db exportif you’re comfortable with WP-CLI. - Store a copy off-site. Download the archive to your own machine or cloud storage, never leaving the only copy on the server you’re about to change.
- Stress test it. Where possible, restore the backup to a local environment or staging site before you rely on it. WordPress is worth following closely here, since a partial export is worse than no export at all.
Pro Tip: Open the compressed archive and count the files before you delete anything from the old server. A truncated backup often looks fine until you try to restore it.
Setting up the new database and updating wp-config.php
With verified backups in hand, it’s time to build the new environment.
- Create a new database and user through your new host’s control panel, then assign that user full privileges on the database. Note down the database name, username, password, and host address.
- Transfer your files. For large media libraries,
rsyncover SSH is far more resilient than SFTP, since it resumes if the connection drops. Smaller sites can usually manage with a standard SFTP upload, and hosts with a control panel file manager sometimes offer a direct zip upload option. - Import the database into the new database using phpMyAdmin or the
mysqlcommand line tool. - Edit
wp-config.phpwith the newDB_NAME,DB_USER,DB_PASSWORD, andDB_HOSTvalues. Regenerate the authentication keys and salts while you’re in there; the official wp-config.php documentation lists every constant you might need to adjust, including character-set settings that occasionally trip people up on older databases.
Don’t skip file permissions. WordPress typically expects folders at 755 and files at 644, and a lazy bulk upload sometimes resets everything to something stricter that locks out uploads. Carry across your .htaccess file on Apache, or manually rebuild the equivalent rewrite block if you’re moving to Nginx, otherwise your permalinks will break the moment you test them.
Pro Tip: Keep a plain text note of the old and new database credentials side by side while you work. It sounds basic, but it’s the single most common source of a five-minute fix turning into a 45-minute hunt.

Why URL search-and-replace needs special handling
WordPress stores a surprising amount of data as serialized PHP arrays, particularly widget settings and page builder configurations. A blunt find-and-replace tool changes the text but not the character-length prefix WordPress stored alongside it, and the result is corrupted data that silently breaks plugin settings or entire admin screens.
Use tools built to handle this properly:
wp search-replace 'oldurl.com' 'newurl.com'via WP-CLI, which recalculates serialization lengths automatically- The interconnect/it Search Replace DB script, useful when WP-CLI isn’t available
- A migration plugin’s built-in URL replacement feature, most of which now handle serialization correctly
Add --recurse-objects on WP-CLI’s command to catch nested serialized values, and use --skip-columns if you need to preserve specific fields such as GUIDs.
Pro Tip: Run the replacement on a staging copy first, then click through every page built with a page builder like Elementor. Page builder data is exactly where serialization breakage tends to surface first.
How do you test a WordPress site before switching DNS?
Edit your local hosts file (/etc/hosts on Mac and Linux, C:WindowsSystem32driversetchosts on Windows) to point your domain at the new server’s IP address. This lets you browse the live domain against the new host, surfacing SSL mismatches, PHP errors, or broken integrations before anyone else sees them.
- Point your hosts file entry at the new server’s IP address.
- Run a final delta sync, pushing any files or database changes made since your original backup using
rsyncor a quick WP-CLI export/import. - Click through the checklist below on the new server before you touch DNS.
- When you’re satisfied, lower TTL if you haven’t already, update your A records or nameservers at the registrar, and remove the hosts file entry once propagation completes.
- Homepage and internal pages load without mixed-content warnings
- Admin login works and dashboard widgets render correctly
- SSL certificate is valid for the new server
DNS propagation can take from minutes to up to two days depending on your TTL and registrar, though lowering your TTL ahead of time usually means most visitors switch quickly. The Learn WordPress lesson on host and domain changes covers this staging approach in more detail if you want the official walkthrough. If SSL fails immediately after cutover, check whether the new host has actually issued a certificate for the domain yet, rather than assuming DNS hasn’t propagated.
What to check after migrating a WordPress site
Before you decommission anything, work through this properly.
- Homepage, key landing pages, and admin login all load correctly
- Permalinks resolve without 404 errors (resave permalink settings if not)
- Contact forms submit and arrive in your inbox
- Checkout flows complete end to end on any ecommerce site
- User logins work, including social login and membership plugins
- Webhooks and third-party integrations fire correctly
- Transactional emails send from the new server, not just from an SMTP plugin’s test screen
Run a crawl to confirm redirects are in place and no new 404s have appeared, and check that canonical tags still point at the correct URLs. This is where a partner tool built for post-migration SEO checks, such as AMW Media’s migration SEO checklist, earns its keep, since it’s easy to overlook a canonical tag quietly pointing at the wrong domain.
Keep the old host active for a safety window of at least 72 hours. Some visitors will still resolve to the old server during propagation, and having it live means nobody sees a dead site while DNS catches up. Watch server logs and analytics during that window, and write down your rollback steps before you need them, not after.
Pro Tip: If you manage migrations for multiple clients, this verification pass is exactly where uncharged hours disappear. Run the numbers on what that’s actually costing you with the WordPress Profit Calculator; most agencies underestimate it by a wide margin.
Should you use a migration plugin or do it manually?
Plugins win on speed and accessibility for straightforward sites, according to comparisons of manual and automated migration methods, but manual methods hold up better on large, business-critical builds where a failure mid-transfer is expensive. A hybrid approach, automating the bulk transfer and handling edge cases manually, tends to balance speed against reliability best on complex sites.
Three plugins are worth knowing well:
- Duplicator packages your entire site into an installable archive, good for straightforward moves.
- UpdraftPlus is widely used for backups and doubles as a migration tool.
WP-CLI remains the non-plugin alternative for anyone comfortable at the command line, and it sidesteps the PHP memory and execution-time limits that still cause plugin-based transfers to fail on large media libraries or high-I/O databases.
Pro Tip: Scope every migration as a project, not a task. Document dependencies, agree a timeline with the client, and build in a final verification pass on transactional paths before you call it done. If you want a template for that, WPCTO’s agency migration guide covers the handover documents worth keeping.
What agency WordPress leads wish they’d known sooner
Migrations that go wrong almost always went wrong because they were treated as a quick job squeezed between other work, not a scoped project with a checklist and a named owner. Most emergency calls we see trace back to a skipped verification step, usually transactional email or a checkout flow nobody clicked through after cutover.
Build the checklist into your client handover pack, agree the timeline upfront, and tell the client exactly when the cutover window is. That single conversation prevents most of the panicked messages.
Let WPCTO handle your next WordPress migration
Wpcto exists so agencies stop absorbing the hours a migration quietly costs. We run the pre-migration inventory, handle the backup and transfer, manage the serialization-safe URL replacement, and complete the full post-migration verification checklist before we call anything done.
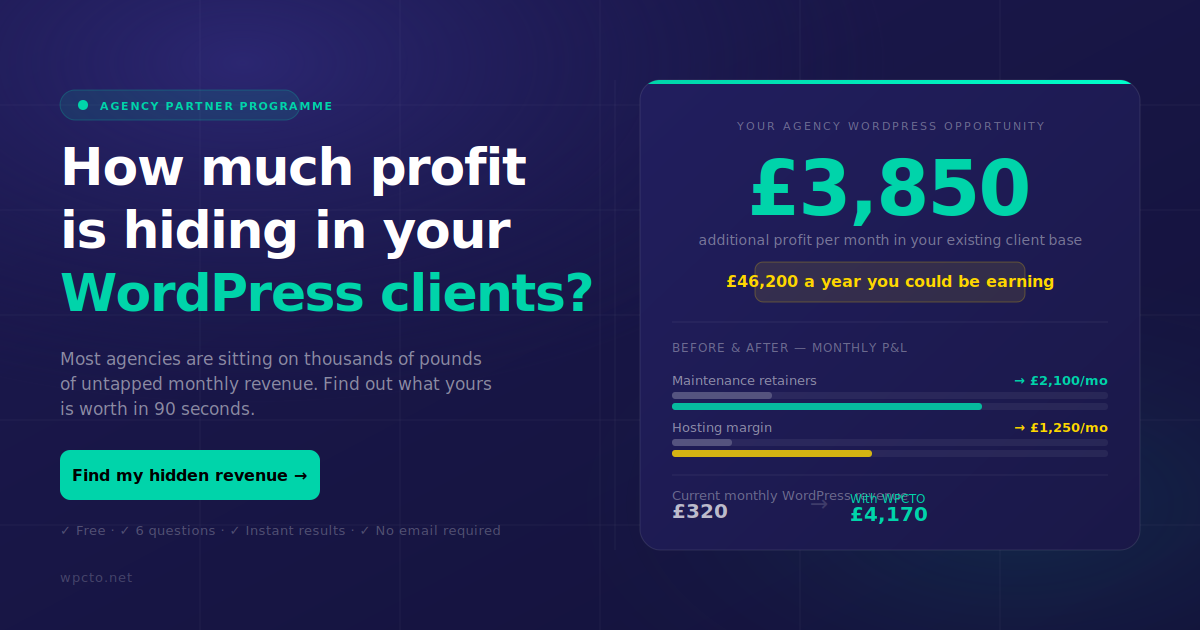
That means fewer emergency tickets landing on your desk after a client’s DNS switch, a tested cutover process instead of a nervous one, and ongoing maintenance once the site’s settled on its new host. If you’re weighing up whether this is worth handing off, run your numbers through the WordPress Profit Calculator first, it takes under 90 seconds and shows exactly what’s sitting uncaptured in your existing client base. Then take a look at our agency hosting and migration services and get a migration plan built around your client roster.
Sources
Follow your host’s specific setup instructions alongside these official docs, since control panels vary considerably between providers.