

You can move a WordPress site to another host with almost no downtime by staging the full site on the new server, testing it on a temporary URL before touching DNS, then cutting over once every check passes. That’s the whole strategy. Everything below is detail.
Here’s the one-line checklist to work from:
- Back up files and database → stage the copy on the new host → test on a temporary URL or hosts file edit → lower DNS TTL 24 to 48 hours ahead → switch nameservers or A record → verify everything live → keep the old host running as a fallback for at least a week.
Pro Tip: Drop your DNS TTL to a low value at least a day before cutover, and take a fresh database snapshot in the minutes immediately before you switch, so nothing written during the move gets lost.
Key Takeaways
Successful WordPress migrations depend on staging the site fully, testing on a temporary URL before any DNS change, and keeping a rehearsed rollback plan ready throughout.
| Point | Details |
|---|---|
| Test before you switch | Stage the site and check permalinks, forms, and SSL on a temporary URL before touching DNS. |
| Choose the right method | Plugins like All-in-One WP Migration or Duplicator suit small sites; manual migration suits WooCommerce or custom builds. |
| Protect serialised data | Use WP-CLI search-replace rather than plain find-and-replace to avoid corrupting theme and widget settings. |
| Keep a real rollback | Leave the old host live for at least a week, and write down current DNS values before changing them. |
| Outsource when it’s revenue-critical | Wpcto rehearses migrations with staged testing and a tested rollback plan for sites that can’t afford downtime. |
Table of Contents
- How to move a WordPress site to another host using a plugin
- Manual migration for large or revenue-critical sites
- What to check immediately after switching hosts
- Common post-migration issues and how to fix them fast
- When to bring in an agency instead of doing it yourself
- Prepare a rollback plan and test it before DNS change
- Get a rehearsed migration instead of a risky weekend
- Sources
How to move a WordPress site to another host using a plugin
Plugin migration is the fastest route, and it’s the right call for brochure sites, small blogs, or anything without a sprawling media library or custom database tables. If that’s your site, skip ahead to testing. If you’re running WooCommerce or a heavily customised build, the manual method further down will serve you better; alternatively, consider website design services if you want broader site work alongside migration.
The flow is the same regardless of which plugin you pick:
- Install the migration plugin on the source site and generate an export package.
- Set up WordPress (or the same plugin) on the destination host.
- Upload the exported package and run the import.
- Test everything on a temporary URL before DNS changes.
- Point DNS at the new host once testing passes.
All-in-One WP Migration bundles your whole site, files and database, into a single export file and is generally the most beginner-friendly of the three. Duplicator takes a different approach: it builds an archive plus an installer script, so you can upload it and run the installer without needing SSH access, which suits shared hosting setups where terminal access isn’t offered. UpdraftPlus is primarily a backup plugin, but its restore function doubles as a migration tool, and it’s worth having regardless because your migration safety net should live off-host.
Pro Tip: Check your host’s upload and PHP execution limits before you start. Large archives often stall on shared hosting, so use the plugin’s chunked upload option or transfer the file over SFTP directly instead of through the browser.
Manual migration for large or revenue-critical sites
Manual migration gives you full control, and it’s the safer route for WooCommerce stores, membership sites, or anything with custom database tables a plugin might not package correctly. It takes longer, but nothing gets left to a black-box export tool.
Start with an inventory:
- List every plugin, theme, and custom database table currently in use.
- Note CDN configuration, webhooks, and any third-party integrations.
- Take a final backup of files and database, stored somewhere off-host, not just on the server you’re leaving.
WordPress’s own backup guidance stresses backing up both database and files together, and validating the export with a tool like phpMyAdmin before you rely on it. Create the database and database user on the destination first, then move your files across with rsync or SFTP and import the database via mysqldump or phpMyAdmin.
Serialised data is where most manual migrations quietly break. WordPress stores widget settings, theme options, and some plugin configurations as serialised PHP arrays, and a plain text find-and-replace on your domain name will corrupt every one of them.
That’s why WP-CLI’s search-replace command exists. It rewrites serialised data safely:
wp search-replace 'https://oldsite.com' 'https://newsite.com' --all-tables
Export and import with mysqldump:
mysqldump -u user -p old_database > backup.sql
mysql -u user -p new_database < backup.sql
The official Codex guide to moving WordPress walks through this same sequence and flags exactly where serialisation trips people up.
Once the database is in, edit wp-config.php on the destination: DB_NAME, DB_USER, DB_PASSWORD, DB_HOST, and the authentication salts all need updating to match the new server. Check file permissions too, most hosts expect 644 for files and 755 for directories, and a mismatch here is a common cause of a broken admin area post-migration.
Pro Tip: Use a hosts file edit or a temporary URL to fully test contact forms, payment gateways, and transactional emails before you touch DNS. A payment webhook that silently fails is far more expensive to discover after cutover than before it.
What to check immediately after switching hosts
Do these checks the moment DNS resolves to the new server, not the next day.
Confirm your A, AAAA, or CNAME records have updated correctly, and test resolution from a couple of different networks or a tool like WhatsMyDNS, since propagation isn’t instant everywhere at once. Keep the old host running throughout, that’s your rollback if anything looks wrong.
- Check the SSL certificate is valid on the new server and covers the right domain, whether that’s a managed HTTPS setup from the host or a certificate you’ve reissued yourself.
- Regenerate permalinks from Settings → Permalinks in wp-admin and confirm old URLs redirect properly.
- Clear every cache layer, server-side, CDN, and any caching plugin, since a stale cache is the single most common cause of “the migration didn’t work” panic calls.
- Test SMTP settings and send a real transactional email to confirm delivery.
- Trigger a payment webhook if you run e-commerce, and confirm the endpoint still fires correctly.
Pro Tip: Mixed content warnings after migration almost always trace back to hardcoded http:// links left in serialised data. If you skipped WP-CLI search-replace during the manual move, that’s the first place to look.
How long migrations take and what they typically cost
A straightforward plugin migration on a small site usually takes one to three hours, most of it spent waiting on uploads and testing. Manual or large-site migrations, particularly anything WooCommerce-based or multisite, run from several hours to a few days once you factor in database import time, serialisation fixes, and DNS propagation.
Costs break down into a few components:
- Internal time, the biggest cost for most small teams doing it themselves.
- Paid plugin tiers if your site exceeds the free version’s size limits.
- Host-provided migration services, where offered.
- Contingency budget for agency help if the site turns out more complex than expected.
A brochure site typically costs little beyond your own time. Larger WooCommerce stores and multisite builds may require more investment or agency involvement.
Common post-migration issues and how to fix them fast
Most migration problems fall into a handful of predictable buckets, and most have a five-minute fix once you know where to look.
- White screen of death: usually a PHP error or a permissions issue. Check the server’s error log first.
- Mixed content warnings: hardcoded
http://references in the database. Run WP-CLI search-replace again if you missed it. - Missing images: broken upload paths or incorrect file permissions on
wp-content/uploads. - Broken permalinks: regenerate them from Settings → Permalinks, and check
.htaccesswasn’t left behind on the old server. - Emails not sending: SMTP credentials weren’t carried across, or the new host blocks outbound port 25.
- Webhook failures: endpoints still pointing at the old domain.
- Curl the site’s HTTPS URL to confirm the certificate resolves cleanly from the command line.
- Check the PHP error log the moment anything looks wrong, it’s almost always faster than guessing.
Pro Tip: If a page builder like Elementor is part of your stack, open every template on the staged site before cutover. Builder plugins occasionally lose styling data during a plugin export that a manual file-and-database move wouldn’t touch.
When to bring in an agency instead of doing it yourself
Hire outside help when the site handles real revenue, runs complex integrations, holds a large or heavily customised database, or when nobody on your team has the time or SSH confidence to run the manual process properly. A failed migration on a site earning money every day costs far more than the migration itself.
Signals it’s time to outsource:
- WooCommerce stores or anything processing payments.
- Membership or subscription sites with user data at stake.
- Custom database tables outside the standard WordPress schema.
- Multiple webhooks or third-party integrations.
- Strict uptime requirements or a multisite network.
Wpcto builds staged rehearsals before touching a live client site, runs a tested rollback plan alongside every cutover, and keeps monitoring in place after launch so problems get caught before a client notices. If you’re an agency wondering what that kind of uncaptured client work is actually worth in lost revenue, the WordPress Profit Calculator shows the number in under 90 seconds.
The migrations that go wrong are almost never the ones where someone asked for help too early.
Pro Tip: If Wpcto handles the migration for you, keep the old host active for 30 to 60 days afterwards. It costs little and gives you a genuine rollback if something surfaces weeks later that testing didn’t catch.
Prepare a rollback plan and test it before DNS change
A rollback plan is only useful if you’ve actually rehearsed it, not just written it down. The point of staging your migration is that if anything breaks at cutover, you can reverse the decision in minutes rather than hours.

Before you touch DNS, confirm three things work: your old host is still fully live and untouched, your final backup (files and database) sits somewhere off both servers, and you know the exact steps to revert DNS if the new host misbehaves. That third point trips people up most often, write the actual record values down before you change anything, because trying to remember your old A record under pressure is how a five-minute fix turns into an hour of downtime.
Test the rollback itself where you can. If your registrar allows quick record changes, practise reverting DNS on a low-stakes domain or subdomain first, so the actual cutover isn’t the first time you’ve done it. For database-heavy sites, keep the pre-migration database export untouched and separate from any post-cutover backups, mixing them up is a common way people lose the ability to cleanly revert.
The window that matters most is the first 24 to 48 hours after cutover, while DNS is still propagating unevenly across networks. Some visitors will hit the new host, others the old one, depending on their ISP’s cache. Keep both servers serving identical content during this window if at all possible, and resist the temptation to make further changes to either site until propagation settles. A full migration checklist is worth keeping open on a second screen during this stage, since it’s easy to forget a step when you’re watching traffic split across two servers in real time.
Author perspective: a working rule for every migration
Treat every migration as a short project with a freeze window, not a task you squeeze in between other jobs. Stage it, test it properly, and don’t change anything else on the site until DNS has settled. Marcel has watched most migration disasters trace back to skipping that discipline, not to the tools used. Wpcto’s migration and hosting service exists for exactly the sites where getting it wrong isn’t an option.
Get a rehearsed migration instead of a risky weekend
Moving a client site yourself works fine right up until it doesn’t, and the sites that go wrong are usually the ones nobody thought needed extra care. Wpcto exists so agencies never have to find that out the hard way: every migration gets staged, tested, and given a genuine rollback plan before DNS goes anywhere near the new host.
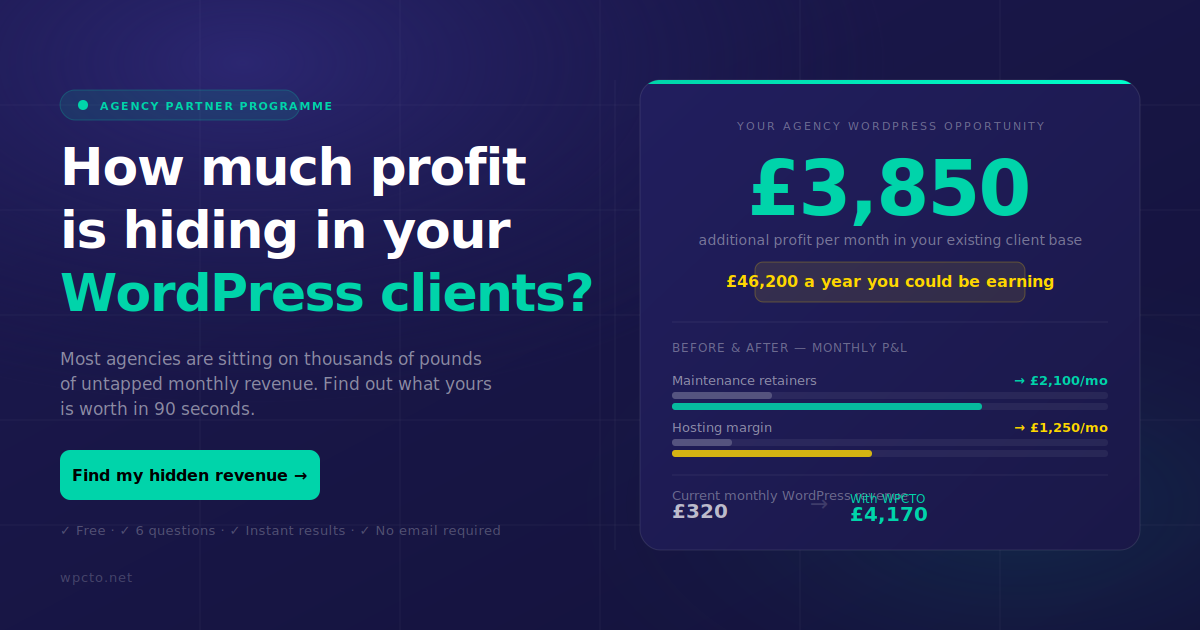
That’s the real difference between doing this yourself on a Friday evening and handing it to a partner who does it every week: post-launch monitoring catches the problems you’d otherwise find from an angry client email. If you’re an agency carrying WordPress support you didn’t sign up for, run the numbers through the WordPress Profit Calculator and see what that work is actually worth, then look at white label WordPress support to see how it could sit off your plate entirely.