

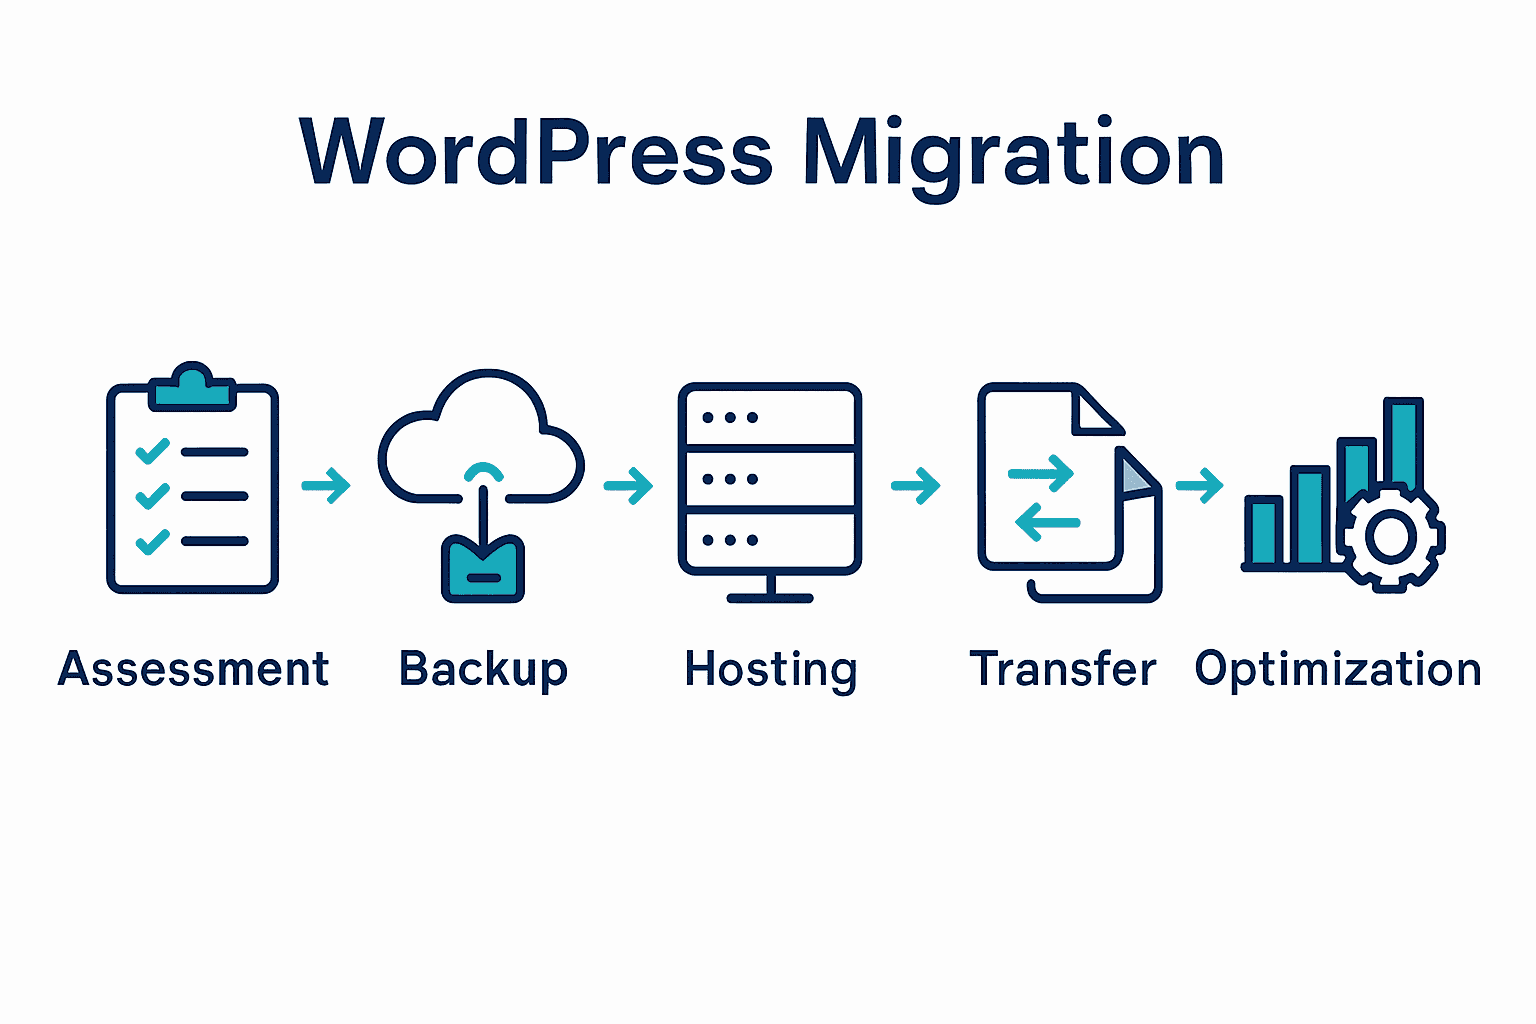
Nearly half of all website migrations run into avoidable hiccups that could cost time and data. Moving your WordPress site to a new host is much more than copying files and hoping everything works. A single overlooked detail, like an outdated plugin or missed backup, can disrupt your site’s performance or even cause downtime. Careful preparation and step-by-step planning are what keep a migration smooth and stress free, helping you protect your content, ranking, and visitor experience every step of the way.
Table of Contents
- Step 1: Assess And Prepare Your Existing Website
- Step 2: Backup All Website Files And Databases
- Step 3: Configure New Hosting Environment
- Step 4: Transfer Website Files And Databases
- Step 5: Update Domain DNS And Test Functionality
- Step 6: Verify Migration Success And Optimise Performance
Quick Summary
| Key Point | Explanation |
|---|---|
| 1. Document all existing site elements | Create an inventory of plugins, themes, and configurations to ensure compatibility during migration. |
| 2. Create comprehensive website backups | Back up files and databases before migration to prevent data loss and ensure restoration capability. |
| 3. Configure the new hosting environment carefully | Set up a compatible server with proper PHP and MySQL configurations to avoid issues post-transfer. |
| 4. Transfer files and databases accurately | Use FTP and phpMyAdmin to ensure all data is moved properly to the new hosting space. |
| **5. Test and verify the new site functionality |
 ** | After the migration, check all features and performance to confirm everything works seamlessly.
Step 1: Assess and Prepare Your Existing Website
Before diving into WordPress website migration, you need a comprehensive understanding of your current site’s architecture, content, and technical requirements. According to WordPress Developer, a thorough assessment is critical to ensuring a smooth migration process.
Start by creating a complete inventory of your existing website. This includes documenting all installed plugins, themes, custom post types, and any unique configurations. Review your site’s current WordPress version and check compatibility with the latest WordPress release. Identify any potential conflicts or outdated components that might cause issues during migration. Take detailed screenshots and notes about your current design and functionality as a reference point.
Prepare a comprehensive backup of your entire website before beginning the migration process. This means downloading a full backup of your database, WordPress files, uploads directory, and any additional custom directories. WordPress Learn recommends creating multiple backup copies stored in different locations for added security. Verify your backup files are complete and can be successfully restored before proceeding with migration.
Quick checklist for website assessment:
- Document all plugins and their versions
- Note theme and any custom modifications
- Check WordPress core version
- Identify potential compatibility issues
- Create full website backups
Ready for the next phase? Your meticulous preparation now will prevent potential complications during the actual migration process.
Step 2: Backup All Website Files and Databases
Backup creation is the most crucial safeguard during WordPress website migration. WordPress Developer emphasises that a comprehensive backup protects your entire digital infrastructure against potential data loss or migration complications.
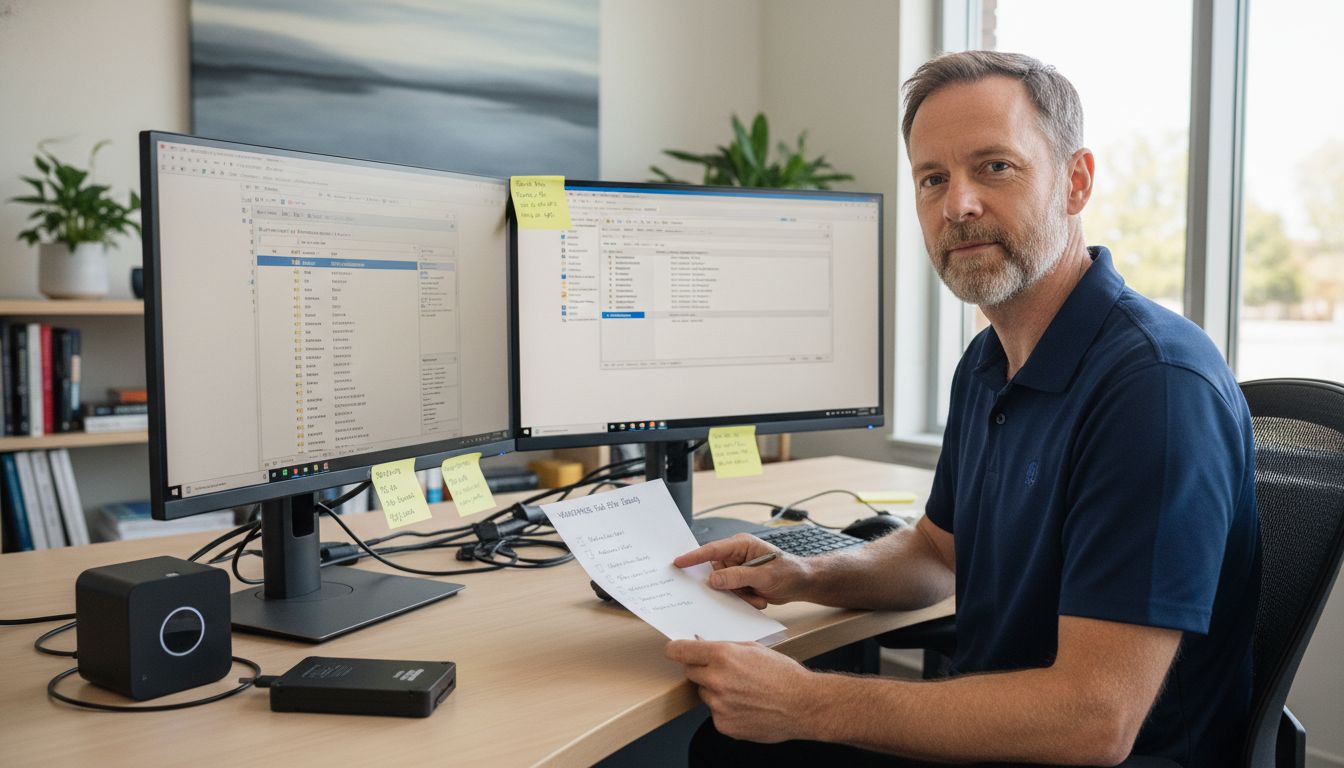
To create a robust backup, you will need to capture two primary components: your website files and your database. For website files, use FTP software like FileZilla to download your entire WordPress directory including themes, plugins, uploads, and core files. This means capturing everything in your public_html or www folder. For database backup, access your hosting control panel and use phpMyAdmin to export a complete database dump. Select the full export option and choose SQL format for maximum compatibility. WordPress Learn recommends creating multiple backup copies across different storage mediums.
Consider these backup best practices:
- Use both local and cloud storage solutions
- Verify backup file integrity before migration
- Store backups in at least two separate locations
- Compress backup files to save storage space
- Use consistent naming conventions for easy tracking
Your meticulously prepared backups will serve as a safety net throughout the migration process. With these files secured, you are now ready to proceed to the next migration stage.
Step 3: Configure New Hosting Environment
Configuring your new hosting environment is a critical step in WordPress website migration that requires careful planning and precision. WordPress Developer highlights the importance of creating a compatible server setup before transferring your website files and database.
Begin by selecting a hosting provider that supports WordPress and meets your website requirements. Create a new MySQL database specifically for your WordPress installation. Use your hosting control panel to generate database credentials carefully noting the database name, username, and password. When WordPress Learn discusses migration strategies, they emphasise matching your new hosting environment closely with your previous configuration to minimise potential compatibility issues.
When configuring your new hosting environment, consider these essential steps:
- Verify PHP version compatibility
- Check MySQL database requirements
- Configure server permissions
- Enable necessary PHP extensions
- Set up SSL certificate for secure connections
For those considering hosting options, our guide on shared versus dedicated WordPress hosting can provide additional insights into making the right choice for your specific needs. Your meticulously configured hosting environment will serve as the foundation for a smooth website migration process.
Step 4: Transfer Website Files and Databases
Transferring your website files and databases marks the most critical phase of WordPress migration. WordPress Developer emphasises that precision during this transfer is essential to maintain your website’s integrity and functionality.
Begin by uploading your website files using FTP software like FileZilla. Connect to your new hosting environment and transfer the entire WordPress directory contents directly to the public_html folder. Simultaneously, import your previously exported database using phpMyAdmin. WordPress Learn recommends carefully matching database table prefixes and ensuring all files are transferred completely before proceeding.
Pay special attention to these crucial transfer considerations:
- Verify file permissions after transfer
- Check database connection settings
- Update wp-config.php with new database credentials
- Remove any host-specific configuration files
- Ensure all plugins and themes are transferred correctly
Once your files and database are successfully transferred, you will need to update your WordPress configuration to reflect the new hosting environment.
The next steps involve fine-tuning your website settings and confirming everything works smoothly in its new digital home.
Step 5: Update Domain DNS and Test Functionality
Updating your domain DNS settings and thoroughly testing your migrated WordPress website is the final critical stage of ensuring a successful migration. WordPress Developer emphasises the importance of precise DNS configuration to guarantee seamless website accessibility and functionality.
To update your domain DNS, log into your domain registrar account and modify the nameservers to point to your new hosting provider. This typically involves replacing existing nameserver entries with the specific nameservers provided by your new hosting company. WordPress Learn recommends allowing 24 to 48 hours for DNS propagation, during which your website might experience intermittent accessibility as global DNS servers update their records.
Conduct comprehensive testing to verify your website’s complete functionality:
- Check all pages load correctly
- Test form submissions and contact features
- Verify SSL certificate is functioning
- Review mobile responsiveness
- Check performance using speed testing tools
Pro tip: Use temporary URL testing before DNS update to catch any potential issues early. Your meticulous approach during this final stage will ensure a smooth transition and minimal disruption to your online presence.
Step 6: Verify Migration Success and Optimise Performance
Verifying your WordPress website migration and optimising its performance represents the final refinement stage of your transfer process. WordPress Developer emphasises that thorough verification and strategic performance tuning are essential for maintaining your website’s reliability and user experience.
Conduct a comprehensive performance audit by running multiple diagnostic tests. Use tools like Google PageSpeed Insights and GTmetrix to analyse your website load times, identify potential bottlenecks, and generate specific optimisation recommendations. WordPress Learn suggests implementing caching plugins, optimising image sizes, and minimising external script loading to improve overall site performance.
Consider these critical performance optimisation strategies:
- Enable server side caching
- Compress and optimise images
- Minimise and combine CSS and JavaScript files
- Use a content delivery network (CDN)
- Remove unnecessary plugins and themes
Remember that migration is not just about transferring files but creating an enhanced digital environment for your website. Your meticulous approach to verification and optimisation will ensure a robust online presence that delivers exceptional user experience.
Ensure a Smooth WordPress Migration with Expert Support
Migrating your WordPress website can feel overwhelming when faced with challenges like backing up files, configuring hosting environments and ensuring flawless DNS updates. The article highlights crucial steps such as detailed backups, transferring files precisely and thorough testing to avoid data loss and downtime. If you are worried about technical complexities or need a trusted partner to handle performance optimisation and security enhancements after migration then you are not alone.
Take control of your website migration journey today with professional help from WPCTO.net. Our specialised WordPress migration services combine technical expertise and rapid responsiveness so your move is safe fast and stress-free. Whether you need immediate assistance during the transfer or ongoing site management we offer tailored solutions including quick fixes, security upgrades and strategic consulting. Visit our main page now to secure support that ensures your WordPress success starts and stays strong.
Frequently Asked Questions
How do I assess my existing WordPress website before migration?
Before migrating your WordPress website, create a complete inventory of your site’s architecture, including all plugins, themes, and custom configurations. Document everything carefully to identify any outdated components and potential compatibility issues, ensuring a smoother migration process.
What is the best way to back up my WordPress website before migration?
Create a robust backup by downloading your entire WordPress directory and exporting your database using phpMyAdmin. Remember to store the backups in at least two separate locations (like local and cloud) for added security.
How can I configure my new hosting environment for WordPress migration?
Select a hosting provider that supports WordPress and set up a new MySQL database with the necessary credentials. Make sure to verify PHP version compatibility and configure server permissions to match your old environment for a seamless transition.
What steps do I need to follow to transfer my website files and databases?
Use FTP software to upload your WordPress files to the new hosting’s public_html folder and import your database through phpMyAdmin. Verify the file permissions and update your wp-config.php file with new database credentials to ensure a smooth migration.
How long does DNS propagation take after updating my domain settings?
DNS propagation can take between 24 to 48 hours after you update your domain’s nameservers to point to your new hosting provider. During this time, your website may experience intermittent accessibility, so be patient and monitor its status.
What actions should I take to verify that my WordPress migration was successful?
Conduct a comprehensive performance audit by testing all website features, including page loads and form submissions. Also, use diagnostic tools to analyze load times and identify bottlenecks, which can help refine your site’s performance post-migration.