

More than 40 percent of British website owners have faced the stress of trying to restore their WordPress site after an unexpected crash. In a digital world where your reputation and hard work can vanish in seconds, knowing how to protect and recover your site matters more than ever. This step-by-step guide walks you through simple actions that keep your data safe and make restoration smoother, whether you run a growing blog or manage a small online shop.
Table of Contents
- Step 1: Back Up Your Current Website Data
- Step 2: Select and Prepare the Correct Backup Files
- Step 3: Restore Database and WordPress Files
- Step 4: Update Configuration and Test Functionality
- Step 5: Verify Successful Site Restoration
Summary
| Essential Insight | Detailed Explanation |
|---|---|
| 1. Regular Backups Are Crucial | Schedule weekly or more frequent backups to protect your website from data loss. This ensures you have recent restore points if issues arise. |
| 2. Use Reliable Backup Tools | Choose trusted WordPress backup plugins or manual methods to ensure comprehensive site backups. Ensure they capture both files and database content. |
| 3. Verify Backup Integrity | Always check file sizes and perform content reviews after backing up to ensure that all components have been successfully captured and stored. |
| 4. Test Restoration in Staging | Restore backups in a staging environment first to identify potential issues without affecting your live site, ensuring a smooth recovery process. |
| 5. Thoroughly Check Functionality | After restoration, meticulously test all website features and functionalities across various devices and browsers to confirm everything works as intended. |
Step 1: Back Up Your Current Website Data
Creating a comprehensive backup of your WordPress website is an essential first step in restoration, protecting your valuable digital assets from potential data loss. Backing up your site involves capturing two critical components: your website files and database.
To begin, you have multiple methods for generating a complete backup. The most straightforward approach involves using WordPress backup plugins that automate the entire process. WordPress recommends selecting a plugin that can securely store your entire site configuration, including themes, plugins, uploads, and database content. Popular options typically offer cloud storage integration, allowing you to save backups off your primary hosting environment.
While automated plugins provide convenience, manual backups remain a valuable alternative. Access your hosting control panel and download your entire website directory, which usually resides in the public_html folder. Simultaneously, export your WordPress database through phpMyAdmin or your hosting provider’s database management tool. Store these files in multiple secure locations like an external hard drive and cloud storage service to ensure redundancy.
Pro tip: Schedule regular backups at least weekly, or more frequently if your website experiences frequent content updates. This practice ensures you always have a recent restore point should unexpected issues arise.
Step 2: Select and Prepare the Correct Backup Files
Selecting and preparing the right backup files is crucial for a successful WordPress site restoration, ensuring you have all the necessary components to rebuild your website precisely as it was. Downloading website backups requires a systematic approach to capture both your website files and database with precision.
Your backup strategy should focus on two primary elements: the website directory and the MySQL database. For website files, use an FTP client like FileZilla to download your entire public_html folder, which contains WordPress core files, themes, plugins, and uploaded media. This comprehensive approach ensures you capture every customisation and configuration. When working with the database, access phpMyAdmin through your hosting control panel and export the complete database using the SQL export format. Select the full export option to include all tables, ensuring you preserve user roles, settings, and content relationships.
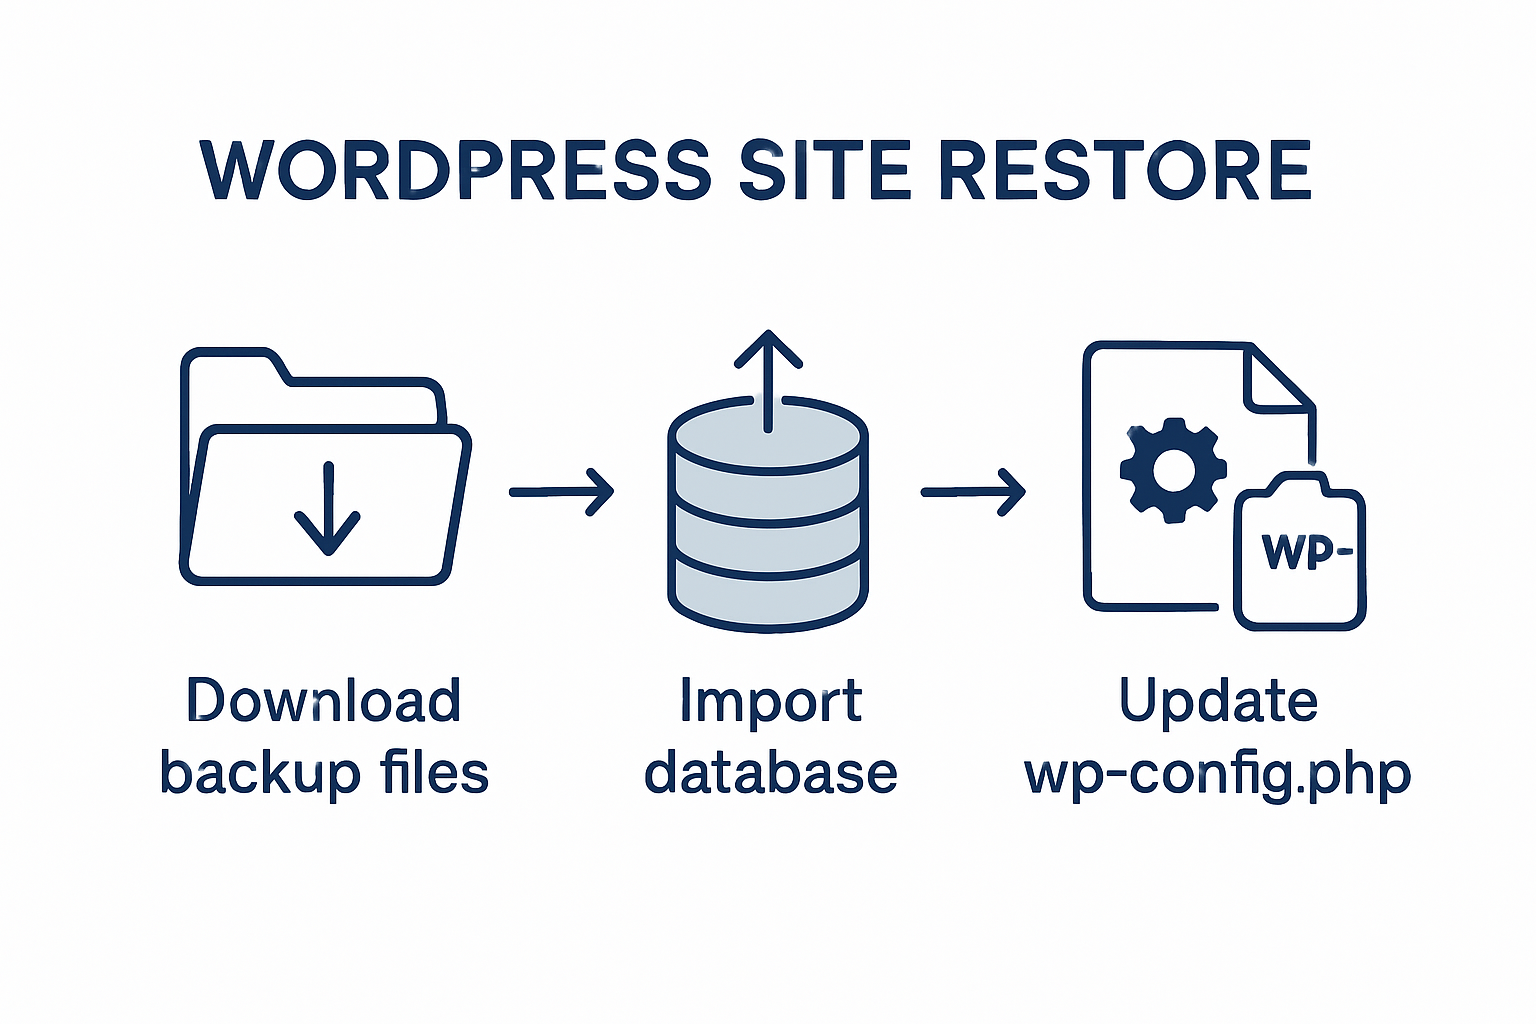
While downloading your backup files, pay close attention to file sizes and storage requirements. Large websites with extensive media libraries might require multiple download sessions or compression techniques. Always verify the integrity of your downloaded files by checking file sizes and performing a quick content review. Create multiple backup copies stored in different locations such as an external hard drive, cloud storage service, and a local computer to protect against potential data loss.
Pro tip: Before proceeding with restoration, create a separate test environment where you can verify the completeness and functionality of your backup files without risking your live website.
Step 3: Restore Database and WordPress Files
Restoring your WordPress database and files is a critical process that requires precision and careful execution. Restoring a WordPress site involves methodically reconstructing your website’s core infrastructure to ensure minimal data loss and maximum functionality.
Begin by accessing phpMyAdmin through your hosting control panel to restore the database. Create a new database or replace the existing one with your previously exported SQL file. When importing, select the full SQL import option to ensure all tables, including user permissions and site configurations, are correctly transferred. For file restoration, upload your backed-up WordPress files to the public_html directory using an FTP client like FileZilla. Comprehensive restoration techniques recommend replacing all core WordPress files, including the wp-admin, wp-includes, and wp-content directories, while carefully preserving any custom configurations.

During the restoration process, pay close attention to potential conflicts between existing and restored files. Some hosting environments might require additional configuration steps, such as updating database connection details in the wp-config.php file. Verify file permissions and ensure that all critical WordPress system files maintain their original security settings.
Pro tip: Always perform a restoration in a staging environment first, allowing you to identify and resolve any potential issues before applying changes to your live website.
Step 4: Update Configuration and Test Functionality
After restoring your WordPress site, configuring and thoroughly testing your website becomes paramount to ensure seamless functionality. Updating website configurations involves a meticulous process of verifying system settings, connections, and critical website components.
Start by updating your wp-config.php file to ensure database connection details are accurate. Comprehensive site restoration requires reviewing and potentially adjusting database credentials, site URL settings, and authentication keys. Check your domain and SSL configurations to confirm they align with your current hosting environment. Systematically test all critical website functions including user logins, form submissions, payment gateways, and plugin integrations. Verify that all pages load correctly, media files display properly, and navigation menus function as expected.
Carefully inspect your website across multiple devices and browsers to identify any potential rendering or functionality issues. Pay special attention to custom configurations such as redirects, caching settings, and third-party integrations that might have been affected during the restoration process. Run performance tests to ensure your site maintains optimal loading speeds and responsiveness.
Pro tip: Create a comprehensive checklist of website functionalities to test methodically, ensuring no critical feature is overlooked during the restoration verification process.
Step 5: Verify Successful Site Restoration
The final stage of WordPress site restoration involves comprehensive verification to ensure every aspect of your website functions perfectly. Comprehensive testing strategies are crucial for identifying and resolving any potential issues that might have emerged during the restoration process.
Conduct a systematic verification process that encompasses multiple critical areas. Test all website functionalities including user registration, login processes, form submissions, and payment gateway integrations. Backup verification techniques recommend creating multiple test scenarios to validate site performance across different user interactions. Run detailed performance and security checks using diagnostic tools to confirm loading speeds, responsive design, and overall system integrity. Verify that all plugins function correctly, database connections remain stable, and custom configurations have been preserved accurately.
Carefully review your website from both frontend and backend perspectives. Check that all pages render correctly across different browsers and devices, media files display properly, and navigation menus operate as expected. Pay special attention to SEO settings, permalink structures, and any custom post types or taxonomies that might have been affected during restoration. Compare the restored site against your original website configuration to ensure no critical data or functionality has been compromised.
Pro tip: Document your entire restoration process and create a backup verification checklist to streamline future recovery efforts and maintain consistent website performance.
Ensure a Flawless WordPress Site Restoration with Expert Support
Restoring a WordPress site involves multiple critical steps from backing up data and selecting the correct files to updating configurations and verifying every function works perfectly. Many website owners struggle with the complex technical details, risk of data loss, or extended downtime that comes with restoring databases and WordPress files precisely as outlined in “How to Restore WordPress Site Step-by-Step for 2025.” Common pain points include managing database imports, resolving file permission conflicts, and thoroughly testing site functionality across devices and browsers.
If you face these challenges or want to avoid costly mistakes during your restoration process, trust the specialised services at WPCTO.net. We provide rapid, expert WordPress website management and support that covers everything from security enhancements and performance optimisation to seamless migrations and advanced troubleshooting. Our dedicated team ensures your website is restored with accuracy and speed while preserving critical configurations and optimising performance to keep your visitors engaged.
Take action now and eliminate the technical stress of WordPress restoration. Visit https://wpcto.net to connect with professionals who understand your urgency and deliver trustworthy, responsive solutions tailored to your needs. Start your journey towards a fully restored, optimised WordPress site today.
Frequently Asked Questions
How do I back up my WordPress site before restoration?
Creating a backup of your WordPress site involves downloading both your website files and database. Use a backup plugin for automated backups or access your hosting control panel to download your public_html folder and export your database through phpMyAdmin.
What should I include in my WordPress backup files for restoration?
Your backup files should include the complete website directory and the MySQL database. Ensure you download the entire public_html folder and the database using the full export option in phpMyAdmin.
How can I restore my WordPress database and files?
To restore your WordPress site, create a new database or replace an existing one using your exported SQL file in phpMyAdmin. Then, upload your backed-up website files to the public_html directory using an FTP client, ensuring to replace core WordPress files accurately.
What configuration updates are necessary after restoring my WordPress site?
After restoring your site, update the wp-config.php file with the correct database connection details and check your domain and SSL settings. Test all critical functions, including logins and payment gateways, to confirm everything is operating smoothly.
How can I verify if my WordPress site has been successfully restored?
Verify your site’s restoration by testing all functionalities such as user registrations, form submissions, and browsing across different devices. Conduct thorough checks on performance, responsiveness, and SEO settings to ensure no critical features are compromised.